photo home_zpsd143792f.png photo About_zpsce4e5ab7.png photo portfolio_zps5df6240e.png photo NavBar5Photos_zpsc8efe369.png photo contact_zps2ba4ac0e.png

Saturday, March 23, 2013

Restaurant Style Salsa Recipe - Pinterest Challenge #4

I was craving fresh salsa today. So what did I do? Checked Pinterest for an easy and super delish recipe! The Pioneer Woman's recipe came up and I made it.

It was super easy, and delicious!

 photo IMG_3768edit_zps1aa09cd8.jpg

For Ree's full recipe with photos click HERE

The only changes I made were to only put half a jalepeno in (this depends on how much heat your family can handle) and I also put one can of original Rotel and one can of Mild.

 Let me know how it turns out! 
I give this recipe a thumbs up and a 


 photo PinWorthy_zpse15de8b2.png
stamp of approval! 
And I know I don't have very many of the other "Pin" types in my challenge, it's just that I haven't tried anything that's been horrible yet! :)

Tuesday, March 19, 2013

Spring Wreath

I may be getting a little obsessive about changing my front door wreath with the seasons and holidays, but I can't help it! 

Today I am sharing my completed Spring Wreath. I love how it turned out and it was super cheap and easy to make! All I used was pipe insulation tubing, yarn, some dollar store flowers and printed off a little banner from my computer!


 photo IMG_3738edit_zps5cc7f2c9.jpg

Here's how I did it,

I made my circle wreath form from the pipe insulation tubing using THIS tutorial. 
It took me a little while to get it perfect and round, just keep twisting the tubing inside itself and it will work out. Also, be sure to use duct tape to secure it, it works the best.


 photo IMAG1113edit_zpsad2affdd.jpg

Next I secured one end of my yarn with a little hot glue and then started wrapping the entire wreath in yarn. 

 photo IMAG1115edit_zps4f25d883.jpg

Here's the finished wreath base:
(Oh and sorry for the terrible phone camera pics, my nice camera was charging!)

 photo IMAG1117edit_zps437cd1b9.jpg

Lastly I added my flowers and then the banner (not pictured).

 photo IMAG1118edit_zps703ac21d.jpg

And just like that I was done! 

 photo IMG_3742edit_zps6ef21308.jpg

I honestly love, love, love it! 
It just screams springtime!
 
 photo IMG_3738edit_zps5cc7f2c9.jpg

Now if only Spring would get here quick! I need some warmer weather! 
Happy Tuesday everyone! 

 photo Signature_zps1e74ebf3.png

 Linking up with:
Photobucket

Monday, March 18, 2013

Keep Calm Easter Printable

There are only two weeks until Easter and I am frantically changing the decor on my seasonal shelf to all things Easter! I made this printable today for my shelf and want you to have one!

Download this print HERE.

Have a wonderful Monday!


Tuesday, March 12, 2013

Monte Cristo Sandwhich - Pinterest Challenge #3

I couldn't wait to post this recipe. I made it for dinner last night and it was SOOOOO good! I have been wanting to try these and finally did last night. They were easy, quick and delish!
I pinned the original recipe from Lil Luna...thanks Kristyn for sharing your recipe!

 EASY Monte Cristo Sandwiches just like those from Disneyland!! Our favorite! Recipe on { lilluna.com } #montecristo

To find the full post and recipe visit click HERE.

This is the most delicious sweet and salty sandwhich I have EVER eaten. It was quick and deep fried, what's not to love?! If you want a lighter version, try brushing it with olive oil and baking them. But really, deep fried is the way to go! :)

Here's my stab at these delicious beauties:

Photobucket

Try them and let me know what you think! I am officially making these a
Photobucket
recipe! Have a wonderful Tuesday.

 Photobucket

Monday, March 11, 2013

Chocolate Chip Cookie in a Mug - Pinterest Challenge #2

In my menu making pinfest last night, I ran across a gem of a recipe claiming to be a 5 minute Chocolate Chip Cookie in a Mug. 5 minutes? I totally have time for that! I just had to try it.


Here's the recipe I found from Jo and Sue


Here's the recipe, courtesy of JoandSue.blogspot.com

5 Minute Chocolate Chip Cookie
Ingredients
1 Tbsp butter
1 Tbsp white sugar
1 Tbsp brown sugar
pinch of vanilla
pinch of salt
1 egg yolk
3 Tbsp flour
1 1/2 Tbsp mini chocolate chips (or regular)
Directions
In a microwave safe bowl or coffee mug, mix butter with sugars. Stir with a fork until well combined. Add vanilla and salt, stir. Add egg yolk (yolk only, not the white), and mix well.
Stir in flour until just combined. Lastly, stir in chocolate chips.

Photobucket

The verdict: It was heavenly! You can make as little or as much as you want, it's the perfect portion size, and tastes exactly like a chocolate chip cookie! There's no making the dough, rolling into balls, waiting for them to cook, etc. It's just made, and done in sixty seconds! 

This recipe is absolutely
Photobucket

Try it for yourself and let me know what you think! Have a fabulous Monday everyone! 
Photobucket

Thursday, March 7, 2013

Greek Yogurt Ranch

I am a snacker. I LOVE to snack. It's a really bad habit and I've been trying to better my snacking options with healthier ones. 

Recently I've fallen in love with a quick and easy ranch substitute that is way better for you! I love to eat this with fresh cucumbers. It is a healthier way to satisfy your cravings.
I bring you, Greek Yogurt Ranch!

Photobucket

Here's the recipe:

Greek Yogurt Ranch

Ingredients:

1 cup of plain Greek yogurt 1 T. dill (you can use fresh or dried) 
1 T. lemon juice 
1/2 t sea salt 
1/2 t garlic powder

Preparation:
Mix all ingredients until blended. 
Refrigerate for 30 minutes. 
Serve with your favorite veggies!
Print Friendly and PDF

This is such an easy recipe, I hope you'll enjoy it as much as I do!
Have a wonderful Thursday everyone!

Photobucket

Tuesday, March 5, 2013

Shamrock Wreath

I have mentioned before how much I love holidays, it's just my thing. Recently I have loved changing my wreath on my door each month to fit a theme.
This month I couldn't find the time to get the heart shaped foam I needed to make this wreath I found on Pinterest. 

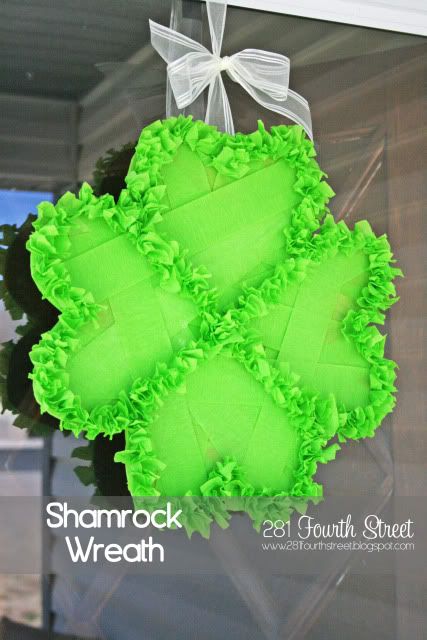
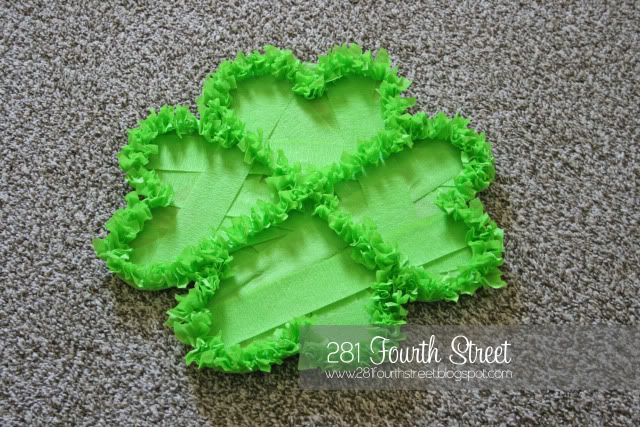
So I used what I had and created my version of the shamrock wreath!
Here's what I came up with:

Photobucket

Here's what I did,
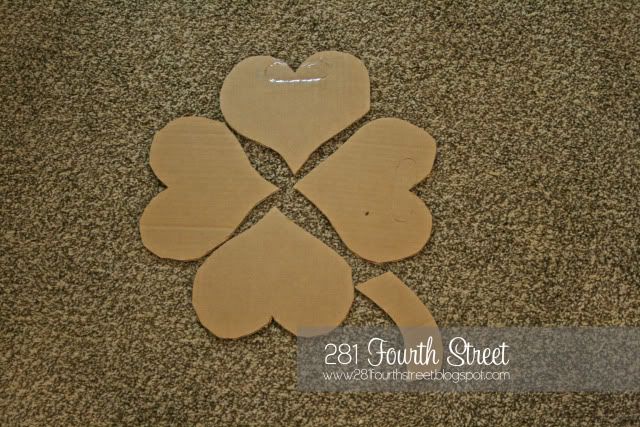
I found an old diaper box and printed a large heart shape off of my computer.

Photobucket

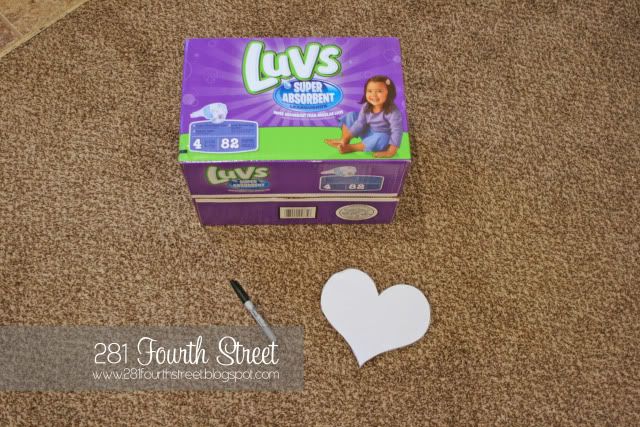
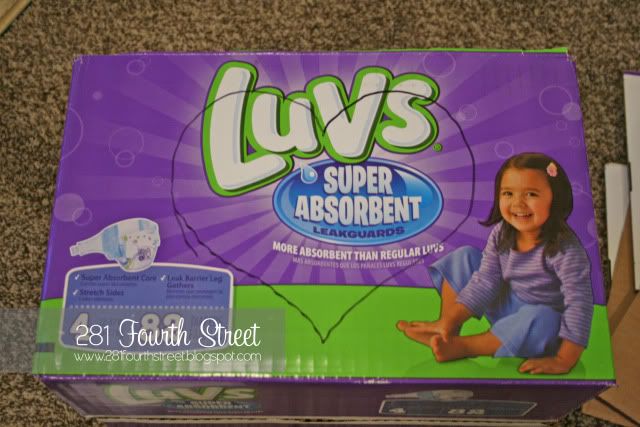
I traced the heart on each side of the box. 

Photobucket

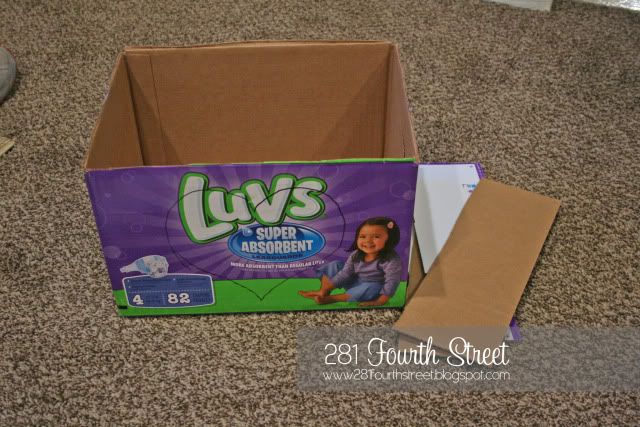
Then I cut off the flaps on the box, this made it easier to cut the heart shapes out. 

Photobucket

I laid out the shape of the wreath, trimmed the edges that needed it and then taped it together

Photobucket

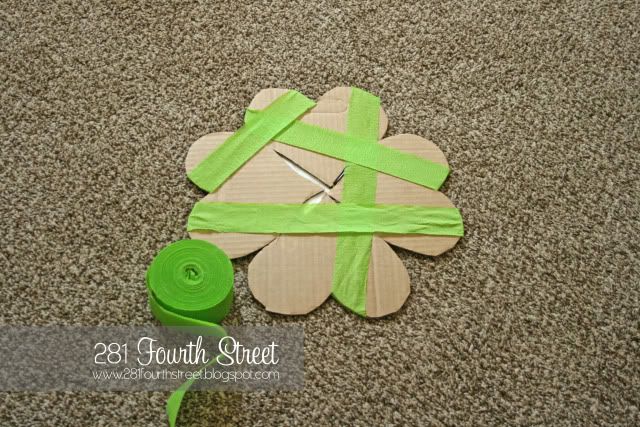
Next I wrapped the shamrock shape with green crepe paper streamers. I cut little strips and wrapped and then taped them on the back of the wreath. I didn't want any of the cardboard to show.

Photobucket

Photobucket

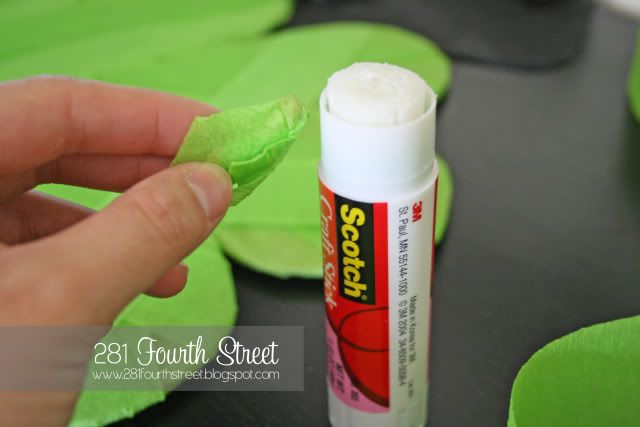
Next I found a pencil, some glue, and cut out a bunch of tiny squares from the same crepe paper streamers. I stuck them on the end, dabbed some glue on and started sticking them around the outside of the wreath. I also placed them where the sides of the petals would be. 

Photobucket

Photobucket

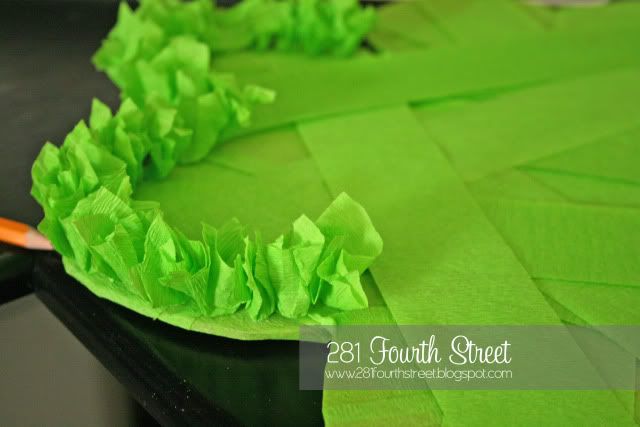
Here's the completed wreath. I left the criss cross of the pieces of crepe paper showing, I think it makes it unique. And I didn't want to spend all day gluing the square pieces on. :)

Photobucket

I added a ribbon and bow and then hung it on my front door! 
It was a simple, quick and easy Shamrock Wreath! 

Photobucket

If you try this tutorial, I'd love to see what you come up with, or if you've tried something similar! Good luck and Happy Tuesday everyone!

Photobucket
Linking up with:
Photobucket

Monday, March 4, 2013

Keep Calm and Pinch On Printable

I saw a printable like this on Pinterest and designed my own! It's a little different than the one I saw, I just switched the colors. I wanted to save on ink when I printed it, so here's my Keep Calm printable. It's on my shelf in my living room next to my St. Patty's Day decor.


  Get your FREE 8x10 download HERE
Enjoy!
Photobucket

Friday, March 1, 2013

St. Patrick's Day Banner - Pinterest Challenge #1

It's March 1st! St. Patty's is just around the corner and I had to make some DIY decor to celebrate! We aren't Irish here at 281, but we definitely love to celebrate each and every holiday. Why not have a reason to celebrate?! 

Today's Pinterest Challenge is a St. Patrick's Day Banner. I first saw this Pin by the Crafting Chicks and it seemed silly not to try this easy banner.
Find the full tutorial HERE on The Crafting Chicks' blog.

Here is their version:


Here is mine:


I followed their tutorial, made the individual clovers and added a stem. One thing I changed was I curled the stems with my scissors. I think it makes them look more like a clover! :)

The verdict: This craft was simple, easy, and quick! I was able to complete my small banner in just minutes. Give it a try and let me know what you think! 
This Pin is definitely
Photobucket

Photobucket